You can return any time by using the sub-menu at the top of your screen.

Share this

Why Unilock Wall Blocks are the Superior Choice for Your Retaining Wall Project
When choosing a retaining wall for your project, durability is key. At Unilock, our range of wall blocks demonstrates our commitment to long-lasting quality. Below, we’ll break down the key features of our blocks and highlight the benefits of choosing Unilock walls for your outdoor landscaping.
What are Unilock Wall Blocks?
Unilock wall blocks are manufactured with a minimum of 5000 PSI compressive strength, ensuring consistent unit weight, strong block shear strength, and superior freeze-thaw durability. While many wall blocks feature internal voids or cavities that require additional core filling by a contractor, Unilock wall blocks require no additional core filling. Instead, they are designed with an integral tongue-and-groove system, allowing for quick and easy stacking, providing a secure fit without the need for additional modifications.
What are the Benefits of Using Wall Blocks from Unilock?
Unilock wall blocks offer a wide range of benefits, including:
Superior Strength: Unilock wall blocks consistently exceed the national average for compressive strength. This results in lower water absorption, better freeze/thaw durability, and a longer-lasting product.
Exceptional Durability: Unilock wall blocks are manufactured with 10 to 44 percent more concrete per foot, providing superior stability and durability. The exceptional compressive strength and durability means guaranteed block unit weight and superior geogrid connection.
Easy Installation: Wall blocks can be installed “as is” immediately upon arrival at the job site, reducing construction variability. Integrated hand-holds further facilitate ease of installation on the job site.
Cost-Effective: Wall blocks require no core filling, clips, or extra pins, reducing installation time and labor costs while ensuring maximum resistance to overturning.
Versatile Design: The modular system and interlocking tongue-and-groove design guarantee shear strength, allowing you to construct a variety of wall features easily.
Examples of Unilock Wall Blocks
At Unilock, our line of wall blocks offers aesthetically pleasing textures, unsurpassed strength, and durability, making them perfect for everything from garden walls to larger structural walls. This includes:
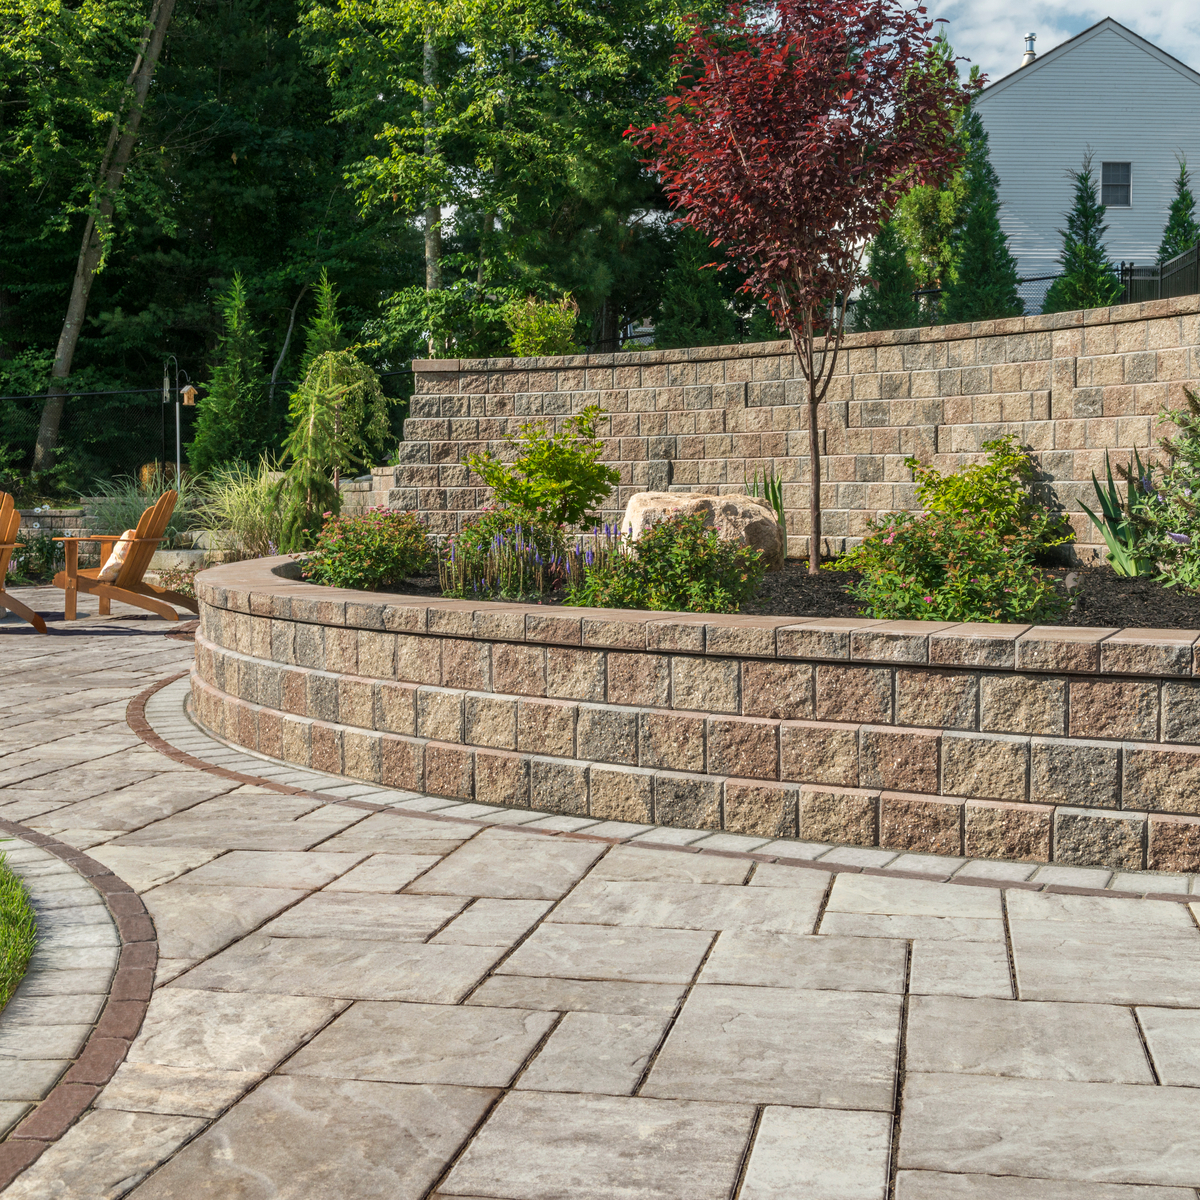
Pisa™: The built-in setback design of Pisa automatically forms the correct slope, ensuring a highly stable retaining wall. The unique design eliminates the need for shimming, allowing for faster installation and greater structural integrity.
SienaEdge™ / SienaStone™ Smooth: A complete segmental retaining wall system offering a linear, modern aesthetic and unique appearance that is ideal for any size Wall application, such as garden walls, planters, or raised patios. (Product may be referred to as SienaStone Smooth based on your region)
Why They Are the Superior Choice
Unilock wall blocks are the best choice for your retaining wall project, offering long-term durability and ease of installation without the usual labor headaches.
Their superior resistance to environmental factors, such as freeze-thaw cycles, and integral tongue-and-groove design make them a smart investment for building stable, aesthetically pleasing walls that will stand the test of time.
For more information on our full range of wall products, speak to your Unilock Authorized Contractor or contact your local Unilock representative to learn more.
Related
Articles
We’re Here To Help
We make it easy to get inspired, plan, and start your project.

See our Catalog of Dreams
Explore ideas, spark inspiration, and see our full range of Unilock products.

Get your freeestimate today
Partner with a Unilock Authorized Contractor for best-in-class results.

Plan your dream project beautifully
Excited to start a new project? Get our Project Planning Guide and plan with ease.